How to Download Music to A Flash Drive with Ease [Win/Mac]
In today's streaming-focused world, it might seem like downloading music to a USB drive is a thing of the past. But it's actually a super handy option - whether you're curating tunes for a long road trip, sharing music with a friend, playing songs on your TV, or simply backing up your favorite tracks.
If you're wondering how to download music to USB flash drive, you're in the right place. In this guide, we will walk you through how to put music on a flash drive step-by-step, including tips to choose the right USB and methods to collect songs in compatible formats. Let's dive in!
Step 1. Prepare Compatible USB Before Download Music to Flash Drive
Before diving into download music to flash drive, it's essential to ensure that your USB drive is ready for the task. Not all USB drives are created equal, and some may not be compatible with your car's stereo system, TV, or other devices.
Here're some tips on how to get your USB drive set up correctly for songs storage:
Tip 1. Choose the Right USB Size and Storage Capacity
When selecting a USB drive, choose one with enough storage for your music collection.
Most songs are between 3MB and 10MB in size, depending on the quality.
For long road trips or large music collections, a 16GB to 64GB USB drive should suffice. For those who want to store hundreds of songs or lossless audio files, a 128GB USB drive or higher is ideal.
Tip 2. Format the USB Drive Properly Before Copying Songs to It
Ensure that your USB is formatted in a file system that is compatible with the device you intend to use it on.
For example, FAT32 is commonly supported by most car stereos and TVs, but if you're using it with newer devices, like Tesla, exFAT might be more appropriate. You can easily format your USB drive follwing below steps on both Windows and Mac.
✅ Pro Tip: Formatting will erase everything on the USB, so make sure to back up any important files on your old USB flash drive before you start to format and download music to USB.
-
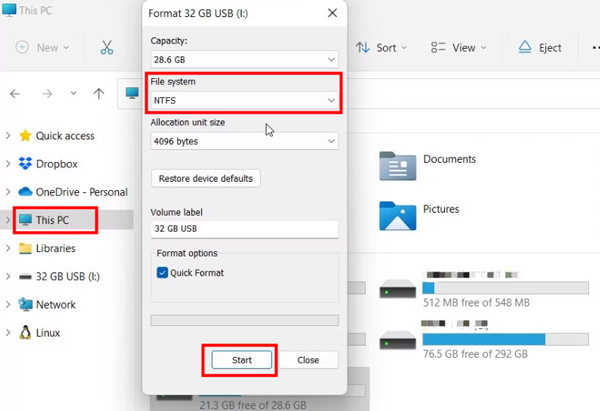
🖥️ How to Format a USB Drive on Windows
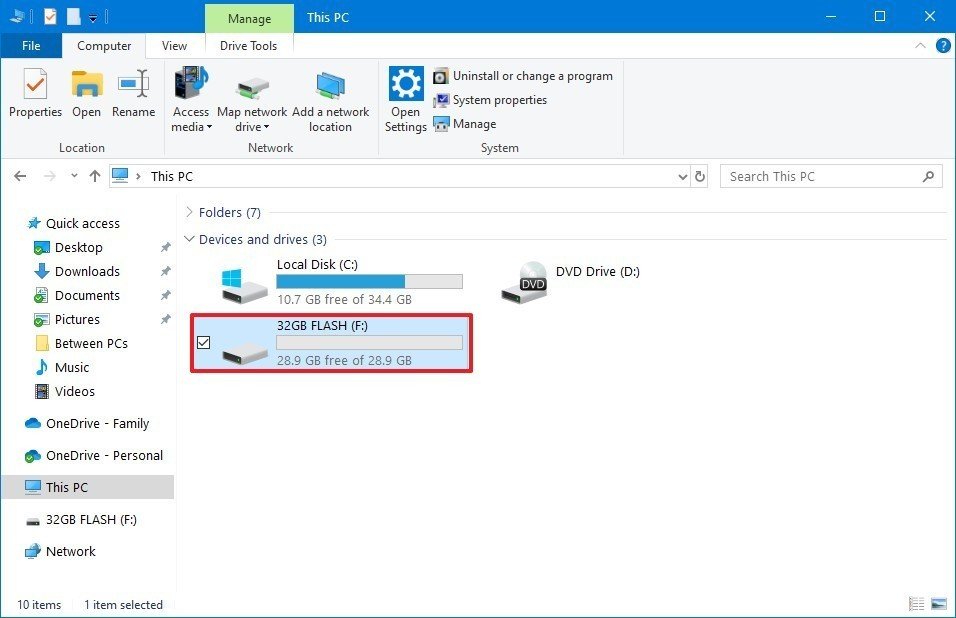
Step 1. Plug your USB flash drive into a USB port on your PC. Then, go to File Explorer > This PC > Devices and drivers.
Step 2. Right-click your USB drive and select Format.
Step 3. Choose the supported format based on your needs.
Step 4. Click Start to begin formatting. A warning will appear reminding you that all data will be erased - click OK to continue.
Step 5. When it's done, you'll see a confirmation message. Click OK, then close the window.
-
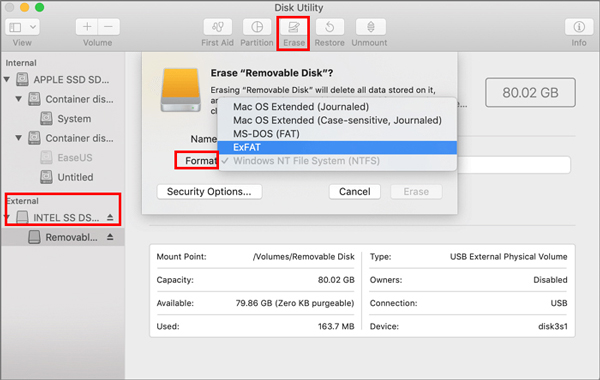
🖥️ How to Format a USB Drive on Mac
Step 1. Insert the USB drive into your Mac's USB port.
Step 2. Open Disk Utility (You can find it via Spotlight Search or under Applications > Utilities).
Step 3. In Disk Utility, select your USB drive from the left-hand sidebar. Then, click the Erase button at the top.
Step 4. In the pop-up window, choose the supported format on your needs.
Step 5. Click Erase to begin the formatting process. Once it finishes, click Done, and you're ready to go!
Step 2. Collect Songs in Correct Format Before Put Music on A USB
With your USB drive ready, the next step is to gather your music to put music on a USB - and just as importantly, make sure the songs are in the right format and quality for your intended device. Not all file types work everywhere, so taking a moment to get this right will save you frustration later.
Option 1. Download Music to USB with Professional Recorder [Unlimitedly]
Let's face it - most streaming services don't actually let you save music files locally. Even if you download songs within an app like Spotify, they're stored as encrypted cache files that can't be transferred or played outside the app.
That's where TunesKit Audio Capture comes in. This powerful, easy-to-use audio recorder for Windows and Mac lets you download music to USB flash drive from any source, including streaming platforms, desktop apps, online radio, audiobooks, and more.
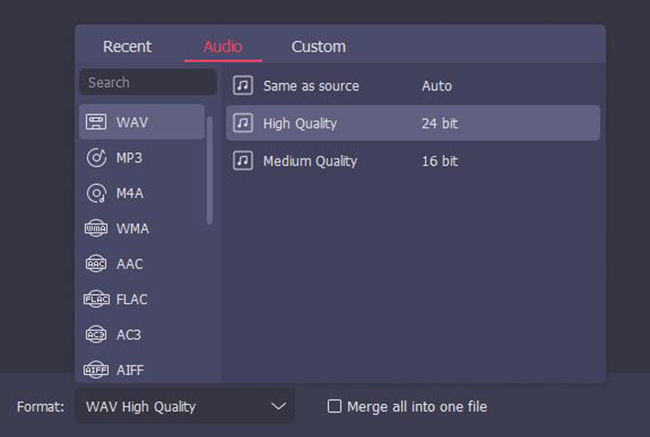
It supports popular formats like MP3, M4A, WAV, M4B, and FLAC - while preserving original sound quality and even keeping ID3 tags (like song title and artist info).
You can also trim, merge, and edit your recordings right inside the app before saving them directly to your USB flash drive.
👇 Try it for free using the buttons below and see how easy it is to record and save your favorite songs!
- Unlimited music recording from platforms like Spotify, Tidal, SoundCloud, and more;
- Supports 16 output formats including MP3, WAV, and lossless formats like FLAC;
- Auto-detects and tags recordings in batches;
- Built-in tools to trim, merge, or split audio;
- Saves music directly to USB;
- Easy to use with a user-friendly UI.
- Only allows a 60-second free records in the free trial.
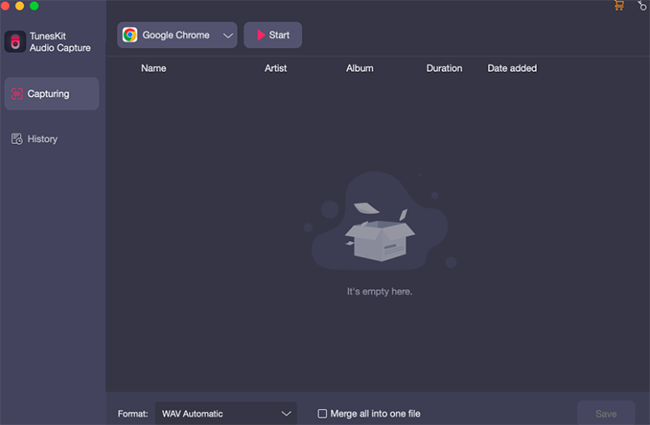
Here's how to download music to flash drive directly with TunesKit Audio Capture, please launch it on your computer after installing it.
Step 1Prepare to Download Music to USB Flash Drive
First, customize your preferred output format and storage place.
The default output format is MP3, but you can click the Format icon to adjust audio settings like codec, channel, sample rate, and bitrate.
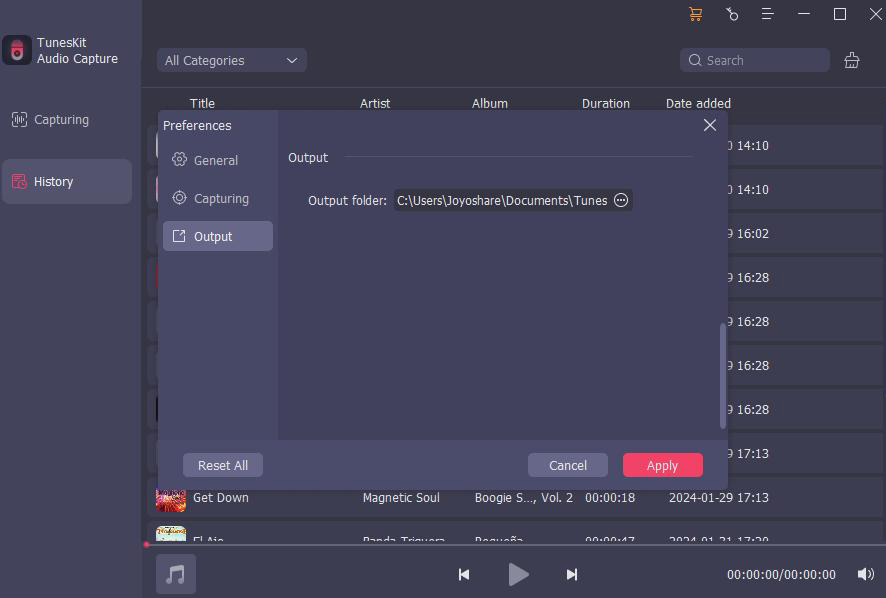
Then, you can click the top-right Menu icon, choose Preferences > Folders, and set your USB as the Output folder, if you've inserted your USB to computer.
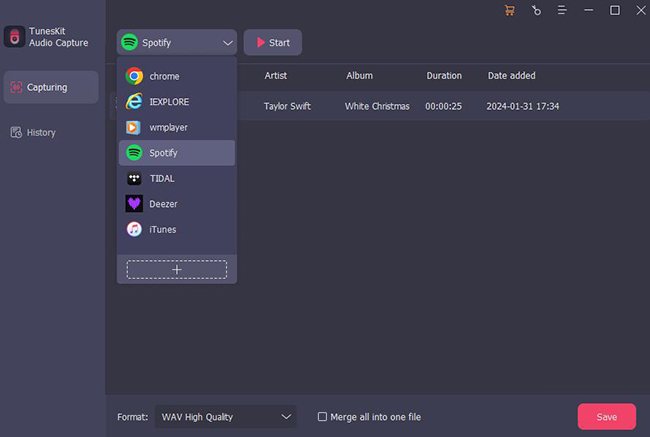
Step 2Record and Put Music on A USB
On the main screen, choose or add the program that will play your music. If your app isn't listed, click the + icon to add it manually.
Then, click the Start button and TunesKit will automatically launch the program you added. Click Play button to start recording. When you're done, click Stop, then Save.
Option 2. Use Online Downloader to Download Music to USB Free [Lossy Quality]
If you're looking for how to download music to USB free - without installing software - you might want to try an online music downloader like 4K YouTube Downloader.
While originally designed for downloading videos from YouTube, it also supports music downloads from sites like SoundCloud, TikTok, Instagram, Twitch, and more. All you need to do is copy and paste the music URL into the search bar, and it will offer you download options within seconds if available.
- Download music to USB free with a fast speed;
- No need to install software on computer and works on Windows and macOS.
- Only supports lossy formats (usually MP3) in lower sound quality;
- Limited download options and often flooded with ads;
- Limited free download resources;
- Lack of ID3 tags for better music library management.
How to Download Music to USB via YouTube 4K Downloader [Free]
Step 1. Open a browser and visit YouTube 4K Downloader.
Step 2. Copy the link to the music you want to download and paste it into the search box.
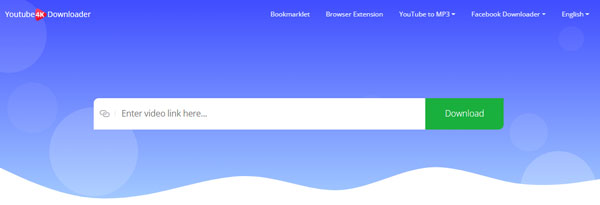
Step 3. When the options appear, choose your format and quality, then click Download. It will start downloading the music to your computer.
You can also download music from an online music website like Jamendo, which is a music platform that offers free and legal music downloads under Creative Commons licenses, primarily focusing on independent artists.

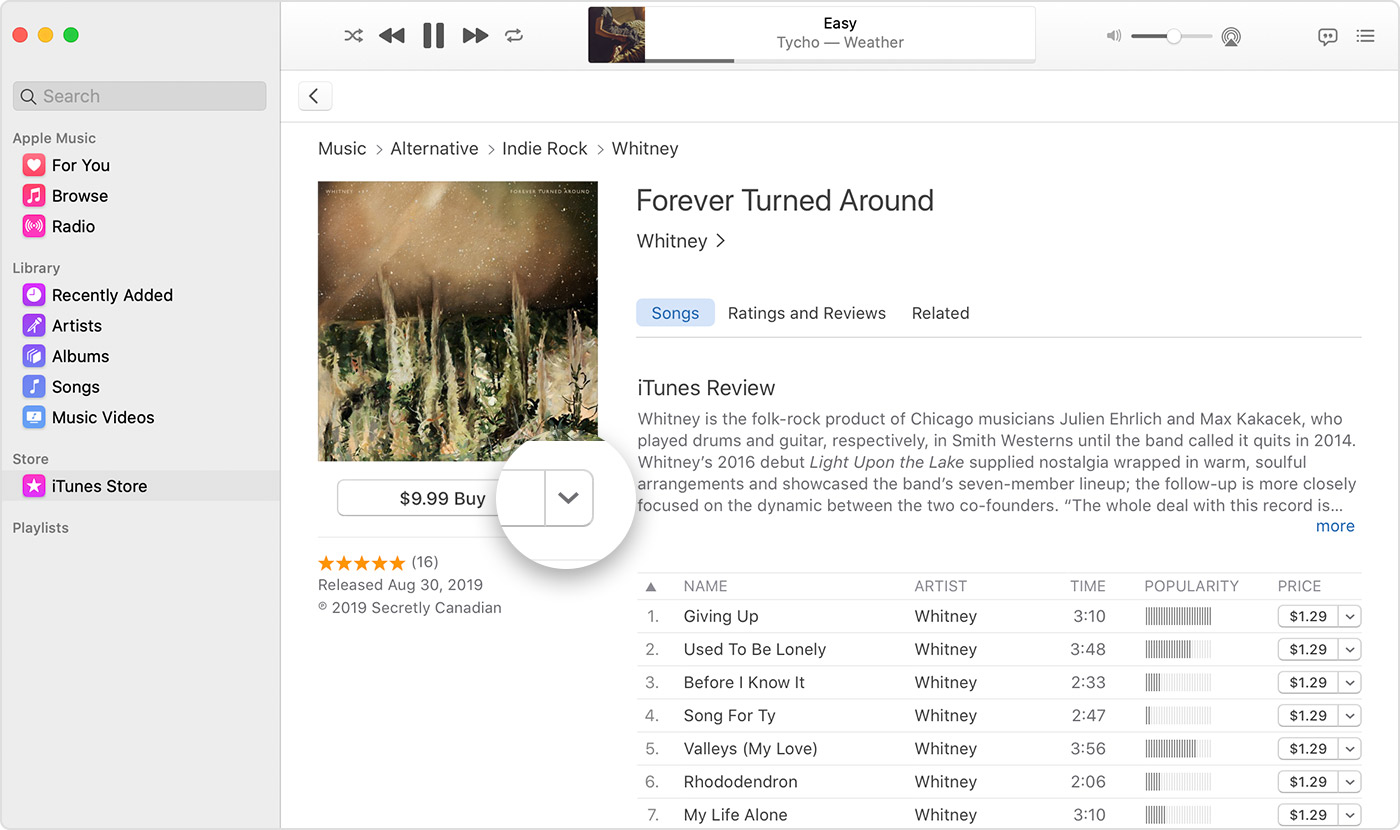
Option 3. Purchase Single Songs from Streaming Music Service [More Cost]
Another method is to buy songs from services like iTunes or Amazon Music. While it's not entirely free, you get the benefit of high-quality, DRM-free music that's easy to transfer to a USB drive. After purchasing, you can simply download and put music to USB flash drive in DRM-free formats.
- Download high-quality and DRM-free music quickly;
- Often available in multiple formats;
- Typically allows you to use songs for commercial purposes.
- Cost lots of money especially if you have amounts of songs to download;
- Some streaming services may not offer download options.
Step 3. How to Put Music on A USB/Flash Drive on Win/Mac
Once you've gathered your music files in the correct format, it's time to transfer music to USB flash drive. Whether you're using a Windows PC or a Mac, the process is simple. Follow the step-by-step instructions below to learn how to put music on a USB quickly and safely.
How to Put Music on A USB Flash Drive on Windows
Step 1. Insert your USB drive into your computer's USB port.
Step 2. Open File Explorer and locate your USB drive. It usually appears under This PC > Devices and drives, often labeled as F:, G:, or another drive letter.
Step 3. Find the folder on your computer where your music is stored. Select the songs you'd like to transfer.
Step 4. Simply drag and drop the selected files into the USB drive folder. Depending on your USB's reading and writing speed and file size, the transfer may take a few seconds to several minutes.
Step 5. Once the transfer is complete, right-click on the USB drive and select Eject to safely remove it. This helps prevent file corruption and ensures your music is properly saved.
How to Copy Music to A Flash Drive on Mac
Step 1. Insert your USB drive into the Mac's USB port.
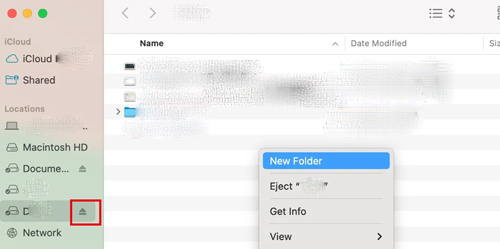
Step 2. Open Finder and locate your USB drive in the sidebar.
Step 3. Navigate to the folder where your music files are saved previously.
Step 4. Drag the selected music files to the USB drive folder.
Step 5. After the transfer finishes, right-click on the USB drive and select Eject before unplugging it.
FAQs on How to Download Music to USB Flash Drive
-
1. How to Transfer Music from CD to Flash Drive?
To transfer music from a CD to a USB drive, you first need to rip the CD to a digital format using software like Windows Media Player, iTunes,or Music app on Mac. Once the songs are in digital form (MP3, AAC, etc.), you can follow the steps above to transfer them to your USB drive.
On Windows Media Player: Click Library > CD name > Rip setting at the top > choose a format > Rip CD. -
2. How to Download Music from YouTube to Your Flash Drive?
To download music from YouTube to USB flash drive, we recommend TunesKit Audio Capture, as it can grab several YouTube music and audio tracks at the same time while keeping the original sound and ID3 tags. Also, YouTube 4K Downloader is worth trying if you want to download music to USB free.
-
3. Can I Download Music from Spotify to A Flash Drive?
Unfortunately, Spotify doesn't allow you to download music directly to a USB drive due to its DRM protection. However, you can use a tool like TunesKit Audio Capture to record Spotify music into a DRM-free format compatible with your USB drive.
-
4. How Many Hours of Music Can You Put on A Flash Drive?
How many hours you can put music on a flash drive depends on the storage capacity of the drive and the quality of the audio files.
For example:
a 1GB USB drive can hold around 200-250 MP3 songs (around 3 minutes each).
a 16GB USB drive can store approximately 3,000 MP3 songs at 128 kbps, or about 4000 minitues (67 hours) of music.
Higher-quality files (like FLAC or WAV) will take up more space. -
5. What File Formats Are Best for Storing Music on a USB?
The best file formats for storing music on a USB drive are MP3, AAC, WAV, and FLAC. MP3 and AAC are commonly used for their small file sizes and compatibility, while WAV and FLAC offer higher quality at the cost of larger file sizes.
Conclusion
Now that you know how to download music to a USB flash drive, it's time to enjoy your favorite songs anywhere, anytime - without relying on an internet connection. Each method has its pros and cons, so choose the one that fits your needs.
🎵 Still unsure which tool is best for you?
Start with the free trial of TunesKit Audio Capture and see how easy it is to record and save your favorite tracks directly to your USB drive.