
Q: "How to add watermark to YouTube video? I've shot one, but don't know how to do that. Can someone show me an easy way? I'm a newbie in video editing. Thanks!" – Nina
To make your video more personalized, adding a watermark to video is a nice option. A watermark is an object - a text or your logo - placed over footage and will be visible throughout the whole video clip. It can prevent your video from being used or copied by others without your permission. Putting your company's watermark or logo on it is also a great way to promote your brand. So how to add watermark to video, and what tools should we use? In this article, we will share you full guides, along with the step-by-step instructions.

- Part 1. Add Watermark to Video with TunesKit AceMovi
- Part 2. Add Watermark to Video with TunesKit Video Cutter
- Part 3. Best 5 Free Watermark Video Editing Software for Windows & Mac
Part 1. How to Add Watermark to Video - TunesKit AceMovi (Mac & Windows)
To add watermark to video, you need a good video watermark software. Here I strongly recommend a professional yet easy-to-use video editing software - TunesKit AceMovi. It can help you place a watermark over a video within a few minutes. You can add either a text or an image as watermark in your video. Besides, you're also allowed to adjust the watermark position to anywhere you want, such as the center of the video or in one of the corners. Moreover, you can adjust the watermark opacity, brightness, saturation, contrast, hue, etc. to make it better. Equipped with a user-friendly interface, anyone can easily learn and master how to watermark a video, even if you're not a pro.
Besides being a useful watermark software, TunesKit AceMovi Video Editor provides tons of editing features including both basic and advanced options. For example, you can use it to cut, split and crop the video clip, or even add text to video, apply background music or effects, use special split-screen, filters, transitions, or other cool effects, etc. After finished the editing, you are offered many flexible output options. You can choose to export them in popular MP4 format, mobile device or even social network like YouTube, Vimeo, and Facebook, etc.

TunesKit AceMovi Video Editor
Security Verified. 5,481,347 people have downloaded it.
- Easily add text or image watermark to video on PC or Mac
- Provide both basic and advanced editing features to enhance video
- Multiple filters, transitions, text, sound effects, music, etc.
- A variety of output options to choose from, like format, device, social platform
- User-friendly UI and easy to operate
How to Add Watermark to Video with TunesKit AceMovi
At first, please click the Download link above to install TunesKit AceMovi on your PC or Mac computer. After that, you can watch the video and read the following easy steps to embed a watermark to a video file with it.
Import your target video and watermark file to AceMovi
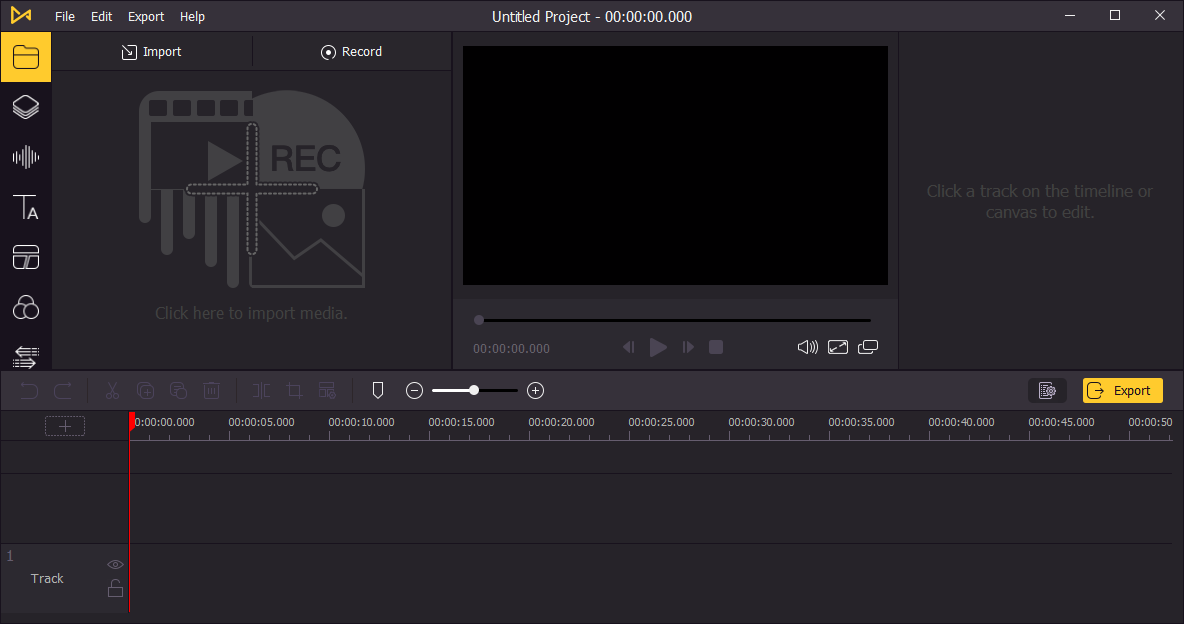
Run TunesKit AceMovi program on your computer, and then click the "Import" or big "+" button to add the video footage, as well as the watermark file, such as your logo, to the media box.
Drag video and watermark files to timeline
Next, you can simply drag and drop the background video onto the first row of the timeline. Then drag and drop the watermark file to the track above the first track. Select and drag the watermark to decide the start time when you want the watermark begins. Place the mouse on the edge of the watermark and when the double-arrow cursor appears, you can drag it and extend the duration.
Adjust the watermark

In this step, you can customize the watermark file according to your needs. Just click the watermark file and then press the "Properties" icon. Choose the "Image" tab to flip or rotate it, change the scale, position and opacity. Or you can click the "Color" tab to adjust the brightness, contrast, saturation and hue.
Save the watermarked video
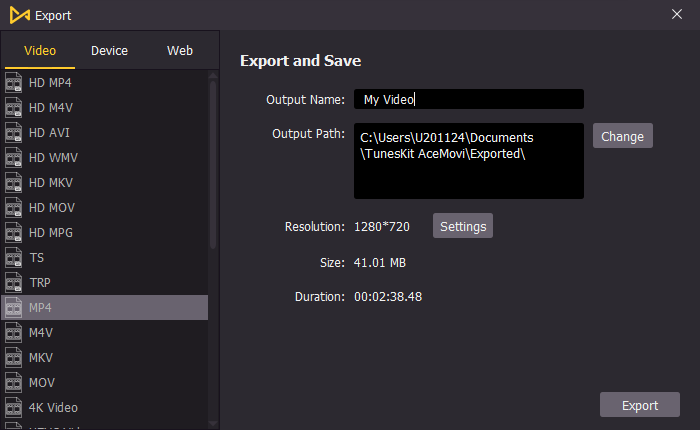
Now click the "Export" button after everything is ready. You can choose an output format such as MP4, change the name or folder if needed, and then start to save the watermarked video onto your local computer.
Part 2. How to Add Watermark to Video - TunesKit Video Cutter (Mac & Windows)
Always known as a lossless video cutter, TunesKit Video Cutter for Windows (or for Mac) is actually a useful video watermark tool that can help users add watermark to video with ease. You can choose either image or text watermark to insert to your video. And you're also allowed to adjust the transparency of it from 100 to 0 according to your preferences.
TunesKit Video Cutter also enables users to trim, split, cut and merge video clips at a super fast speed without quality loss. Besides adding watermark to the video, you can add background music to video, insert subtitles, apply special effects, crop and rotate the video, etc. to meet your needs. In addition, the program is clear with neat buttons, so you can easily handle it without spending much time to learn.
Detailed Steps to Add Watermark to Video with TunesKit
Now let's come to the detailed guide on how to add a watermark to a video with TunesKit Video Cutter. First of all, please download the trial version of the program and install it on your computer.
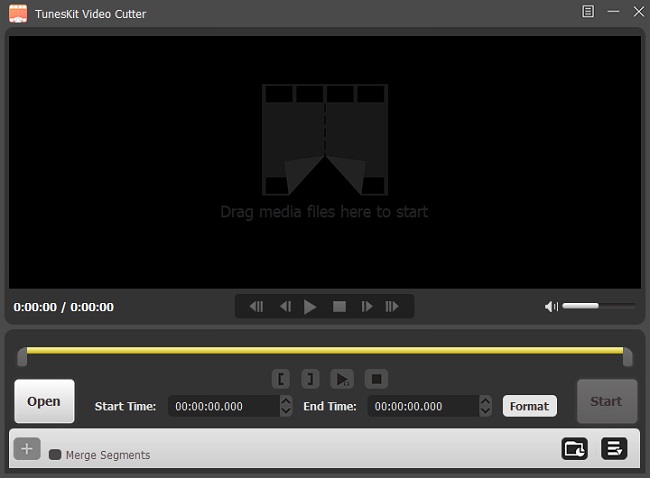
Step 1: Launch TunesKit and add video. Open TunesKit Video Cutter on the computer and then click the "Open" button to import the video file you want to add watermark to. Or, you can put your target video file to TunesKit by dragging and dropping.
TunesKit program will start playing your video automatically once it's imported into it. Then press on the "Edit" icon next to it and a new window will pop up.
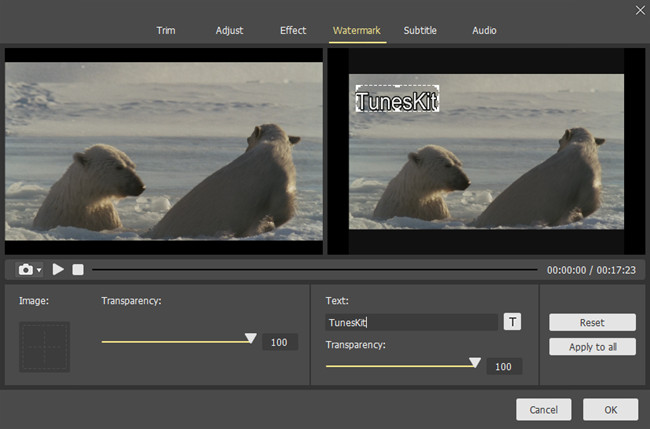
Step 2: Add watermark to video. Among the six editing options, click on the "Watermark" one. Click the "+" button under "Image" option on the left to add an image watermark to your video. Or, just enter the watermark in text to the video. Both Image and Text watermark options allows you to adjust the transparency of the watermark. You can also set the font color, size, shadow and other parameters as you like.
Step 3: Select an output mode. In this step, you need to choose an output mode for your edited video. Click the "Format" button and you will see output modes - High-speed mode and Encoding mode. Choose the Encoding mode as well as an output format to save the video with watermark in high quality. Then hit the "OK" button to close the window.
Step 4: Start the conversion. When everything is set ready, you can now click the "Start" button. TunesKit Video Watermark program will begin to add watermark to video and export it as you want. A few minutes later, you can find your new video from the history folder.
Now you know how to add watermark to video with TunesKit. It's very easy, isn't it? Just choose the right video watermark software you want and start watermarking your video right now!
Part 3. 5 Best Free Video Watermark Software for Windows and Mac
In the following part, we are going to introduce other 5 best free video editing software that allows you to add watermark on your videos for free on your Mac or PC computer.
1. Windows Live Movie Maker (Windows)
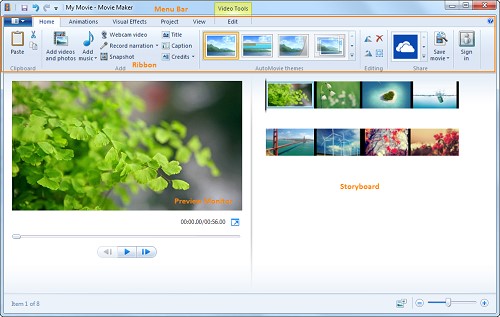
The first free video watermark software for Windows on our list is Windows Live Movie Maker. It is one of the most simple and easy-to-interact video editing software. It allows you to do basic video editing without prior video editing knowledge, such as adding basic text, images, watermarks, etc., to your videos. You can easily add the watermark, and you can also specify the time duration for how long it will be shown on the video.
Pros:
• Is available for free on the Windows OS.
• Simple and intuitive.
• Has a huge library of presets.
Cons:
• The program crashes a lot of the time.
• Cannot do complex editing.
2. Shotcut (Mac & Windows)
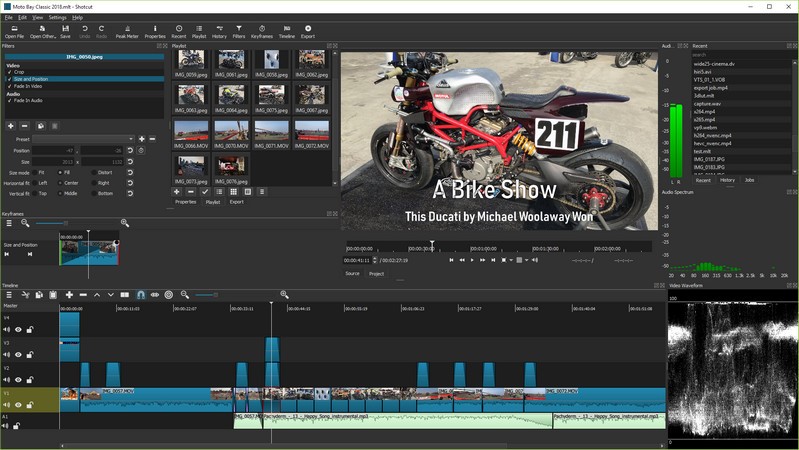
Shotcut is an open-source, free video watermark software that is accessible on different operating systems like Windows, Mac, and Linux. As an astounding proficient program, Shotcut permits you to make extremely excellent alter to your video. You can alter the video in the course of events and can see the improvement progressively, meaning you don't need to download and play it. It likewise has various sound and video design presets, making it significantly more adaptable. Shotcut has the greater part of the top of the line features to make the quality better.
Pros:
• Has an intuitive and easy interface.
• It has 4k video support.
• Has 4k resolution support.
Cons:
• Needs a high-end computer to work properly.
• Not easy for beginners to learn.
3. OpenShot (Mac & Windows)
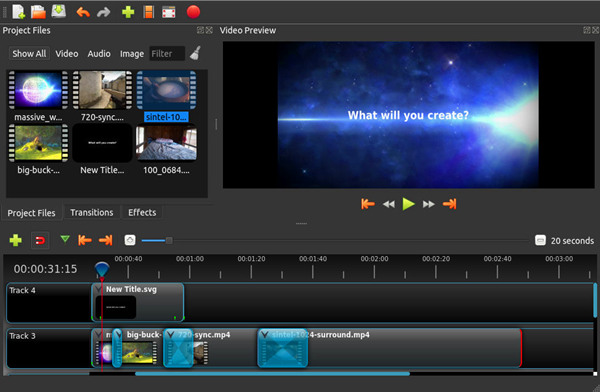
OpenShot is another splendid expert-level video editor that permits you to alter videos consistently. It permits you to make proficient-looking films and slideshows out of your videos and crude pictures, respectively.
It has numerous highlighting features like having the option to add captions, professional-looking video effects, transitions, sound, and so on. It bolsters numerous formats, which implies that the video altered by OpenShot can be traded to gadgets like cell phones, gaming supports, projecting gadgets, and so forth. It has a genuinely basic interface when contrasted with other altering programs. In addition, the plus point of this product is that it is free to use.
Pros:
• This program is open-source.
• It gets regular updates.
Cons:
• The program crashes a lot.
• The software is inefficient.
4. DaVinci Resolve (Mac & Windows)
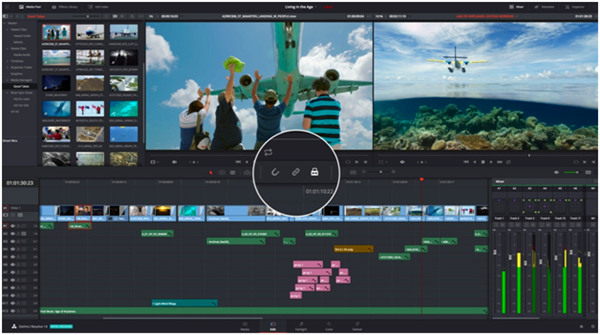
DaVinci Resolve is a video editing program that is loaded with proficient features. This editing program is named after the acclaimed craftsman DaVinci and anything related to DaVinci is intended to be extraordinary.
DaVinci Resolve is an element rich and complex editing program made for experts. It comes furnished with a high-level tone corrector and multitrack altering capacity. It has an assortment of expert-level tools, for example, multitrack uphold, built-in color grader, sound editorial manager, and so on. It is an open-source altering program, and you can add the watermark to the video easily.
Pros:
• It can easily add watermarks in a few simple steps.
• Has a built-in professional color grader.
• It is full of highlighting features.
Cons:
• Has no multi-camera support.
• It is hard to learn.
5. iMovie (Mac)
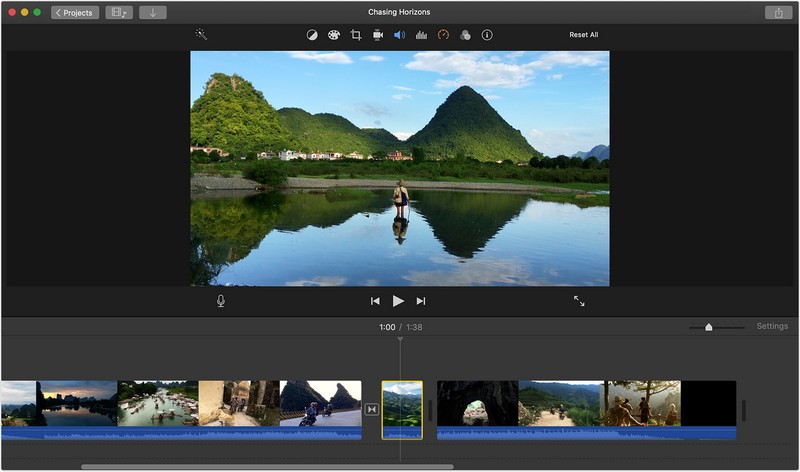
As we are moving toward the finish of this rundown, the following free video watermark program is called iMovie. It is a local basic level video altering program made by Apple for its own gadgets. It is an inherent video manager on a Mac OS computer means that it comes pre-installed.
iMovie is a free video watermark software that makes it easier for you to add watermarks to the video. It likewise has an implicit library of themes, effects, filters, green-screen effects, and so on. It is extremely straightforward and simple to utilize an altering program that permits any learner to make some epic outcomes. It additionally has 4K support that allows you to create some great results.
Pros:
• Is free of cost.
• Has 4K resolution support.
• Has a huge library of built-in presets.
Cons:
• Only is available on Mac devices.
• Doesn't have a built-in color grader.
The End
Now that we are at the end of this article, we got to know all the best video editing software list. We learned about the 7 best video watermark software for Mac & Windows. It is up to your personal preference to choose an editing software, but according to us, TunesKit AceMovi is the best video editing tool. It is also available on both platforms, Windows and Mac.