iPad is Disabled Connect to iTunes? 5 Ways Here
Q: "My child wants to play with my iPad and she may put the wrong passcode, and now the screen is showing the message 'iPad is disabled connect to iTunes'. How can fix the issue? Thanks in advance!" – June from Quora
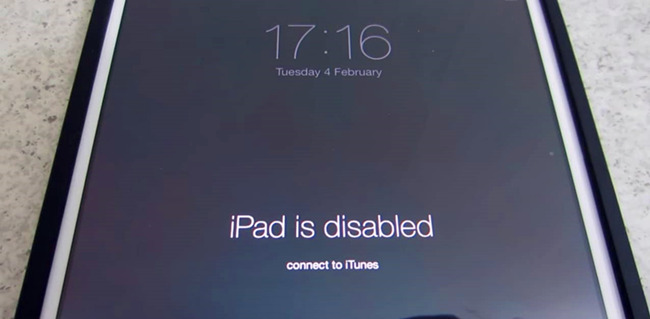
If you've got the error message, it means that you or someone else has entered the incorrect password for too many times and the device has locked download in order to protect itself from any hacking attempt. Here in this guide, we will provide 4 proven ways to help you fix the disabled iPad issue quickly and safely.
Video Tutorial: How to Fix iPad is Disabled Connect to iTunes
In the first part, you can watch the short video to learn how fix the disabled issue. In the following parts, we are going to give you detailed information.
Top 5 Methods to Fix iPad is Disabled Connect to iTunes
Method 1. Use TunesKit iOS System Recovery
The first method introduced is to use a third-party iOS repair tool named TunesKit iOS System Recovery to resolve the iPad disabled connect to iTunes problem efficiently. It can help you deeply repair your iPad without iTunes or passcode in a few clicks.
Apart from fixing iPad is disabled, it can also help you unlock iPad without password, no matter what kinds of passcode it is. Other common iOS issues like iPad stuck in recovery mode, stuck in boot loop, black screen, keeps turning off, etc. can also be solved with TunesKit. In addition, the trial version allows you to enter or exit the recovery mode for free.
Features of TunesKit iOS System Recovery:
- Fix iPad is disabled connect to iTunes within several steps
- Fix various iPad system issues with high success rate
- Work well on iPad, iPhone, iPod touch, Apple TV
- One click to enter the recovery mode free
Step 1 Connect disabled iPad to computer
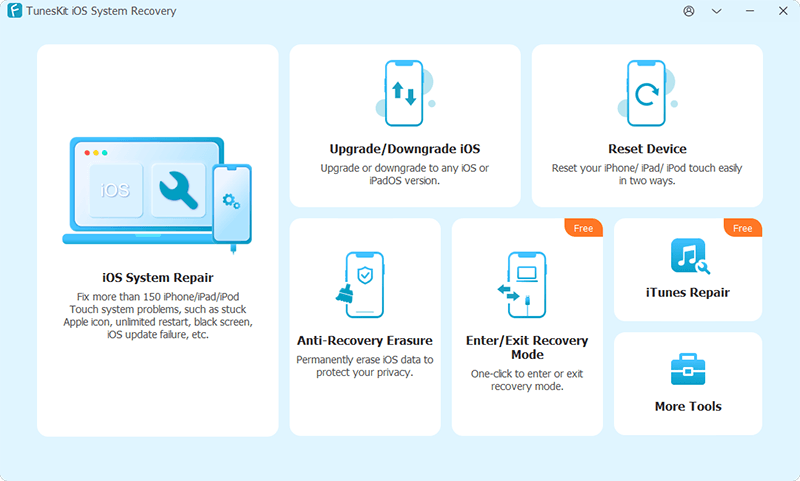
First, plug your device to your computer with an original USB cable. Open the program and click the Enter Recovery Mode on the left to put your iPad into the recovery mode. After that, click the Start button to begin.
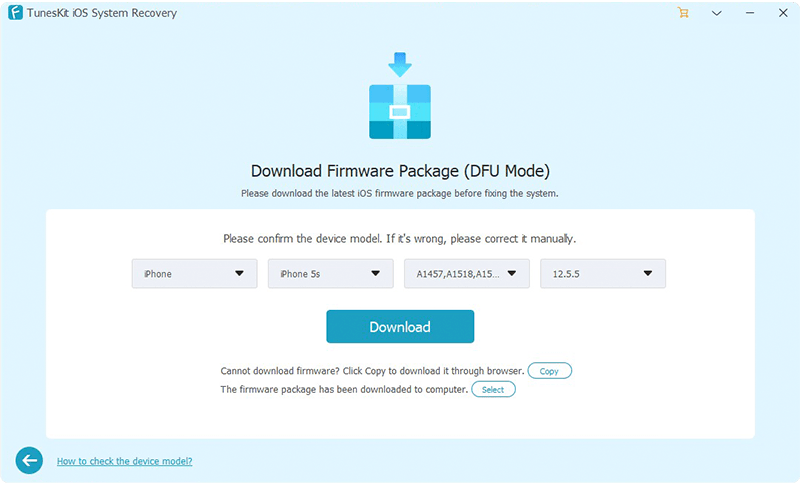
Step 2 Select repair mode and download firmware
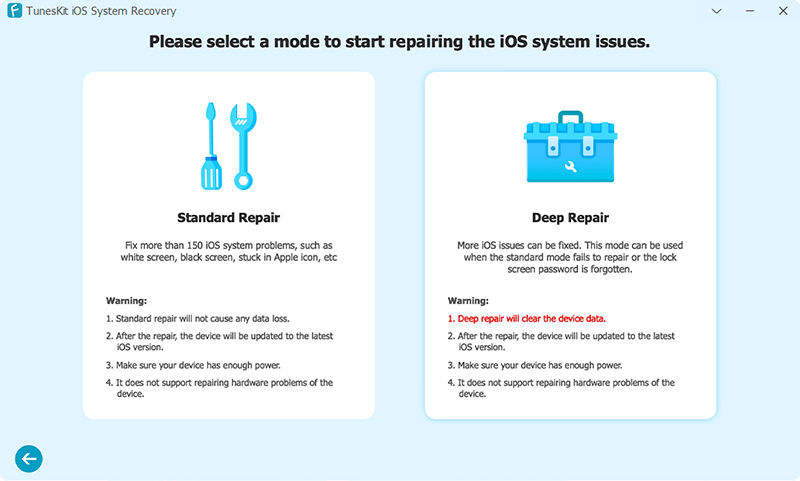
Next choose a recovery mode to fix the disabled iPad issue. Here you need to choose Advanced Mode. Afterwards, confirm your device info and correct it if anything is wrong. Then click the Download button to download the approximate iOS firmware package for your iPad.
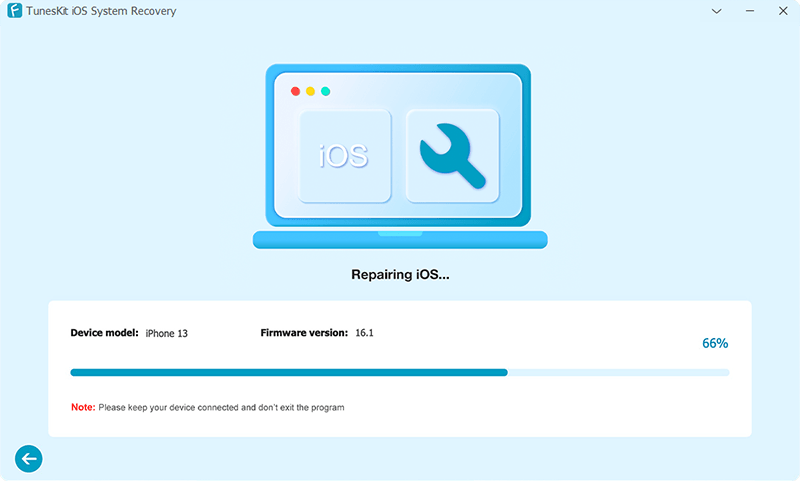
Step 3 Start fixing iPad
As the download will take some time, you need to wait until the process is completed. Once it's done, you can click the Repair button to fix iPad is disabled connect to iTunes immediately.
Method 2. Hard Reset Your iPad
According to an Apple offcial tech worker, Hard resetting iPad should be a wonderful way to fix the issue that iPad is disabled connect to iTunes. There are different methods to reset your iPad the based on different iPad models. If you don't know the detaile steps, you can follow the following:
For iPad with Home button: Keep holding the Power button and Home button until the Apple logo appears
For iPad without Home button: Press the Volume Down button quickly, and press the Volume Up button quickly. Then, Keep holding the Power button untile the Apple logo appears.

Method 3. Put iPad into Recovery Mode
If you haven't synced your iPad with iTunes before, you may not use the method above, because you need to enter the passcode on iPad and confirm to trust the computer. But it seems impossible. In such case, you can then fix iPad is disabled connect to iTunes issue using recovery mode.
Step 1. Connect your iPad to the computer. Press the Top button for a few seconds until the 'Slide to power off' appears. Drag the slider to turn off iPad.
Step 2. Next keep pressing the Home and Top buttons simultaneously until you see the recovery mode show on the screen.
Note: For iPad without the Home button, you need to press and quickly release the Volume Up buttonand then the Volume Down button. Keep pressing and holding the Top button until your device goes into recovery mode.
Step 3. Open iTunes on your computer and it will detect your device in the recovery mode automatically. A new window will pop up and ask you to update or restore the device. Click the 'Restore' option to restore your iPad device.

Note: You may lose the data if you don't have any backup in advance by using this method.
Method 4. Resort to iCloud
If you don't have a PC and want to get the iPad is disabled connect to iTunes error fixed without computer, you can follow this method. But the premise is that the "Find My iPad" feature is turned on before it is disabled. If so, you can then use iCloud to restore iPad and fix the issue efficiently.
Step 1. Open your phone and search the icloud website on the browser. Sign in with the Apple ID and right passcode that you used on the iPad.
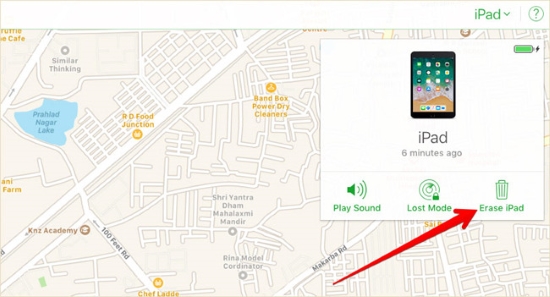
Step 2. After that, click the "Find iPhone" option and then select your iPad under the "Add Devices" on the top.
Step 3. Now click on the 'Erase iPad' option and then confirm the action with your Apple ID credentials. You will restore your device remotely.
Note: This solution will also erase all the data on your iPad. Please back up your data before taking it.
Method 5. Restore iPad via iTunes
When you face the problem of iPad disabled connect to iTunes, it means that your iPad is now disabled and suggests you to connect it to iTunes app to fix it. If you've synced your iPad with iTunes before, you must have trust the computer before. You can then follow the quick guide below to fix the issue.
Step 1. Connect your device with the PC or Mac computer you've ever synced. Open iTunes and click on your iPad device icon.
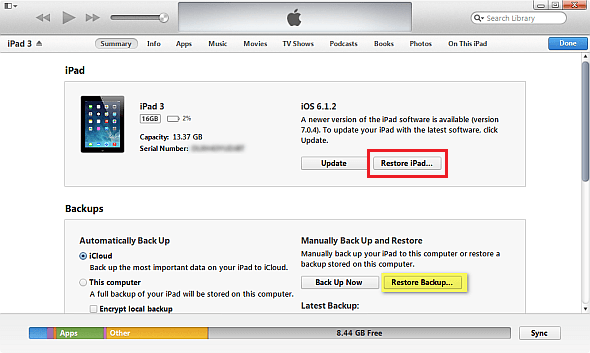
Step 2. Go to the Summary > Backups > This Computer > Back Up Now to make a backup before restoring the device.
Step 3. When the backup process is done, go to the Summary > Restore iPad… to fix the issue. Afterwards, you can set up the device as new and restore your data from iTunes backup.
Summary & Tips
That's all for how to fix iPad is disabled connect to iTunes problem. And I guess your iPad should work properly now. If not, you can take it to Apple Store for help. If it can work normally but you lose your data, at least you learn that you need to back up your data in the future. If you want to avoid such issue happen again, just be more careful when entering your password, or choose a more complex passcode yet easy to remember.