
You thought you've already had those Apple Music songs on your computer after you download them from iTunes? The truth is, you are only allowed to listen to them under limited circumstances. Subscription to Apple Music is required, iTunes on your computer is required, authorization is required.
If you uninstall iTunes or unsubscribe Apple Music, then poof, all the songs you downloaded just become useless. But it's not like they will go disappear from your computer. They still exist on your computer but no media player can recognize or play them.
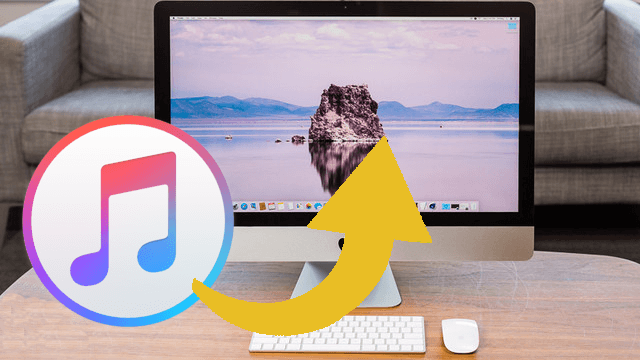
That's why you need to master the method to truly save Apple Music to computer. And this is what we are going to talk about in Today's passage. Apple Music is in encrypted M4A format to protect Apple's copyright. Apple strictly restricted where you can play Apple Music. Even the authorization of iTunes has a device limitation. 5 devices at most. Therefore, converting downloaded Apple Music songs to the ordinary MP3 is the only way to save them on your computer, whether it is a PC or a Mac. The most effective and most efficient way to do it is using ViWizard DRM Audio Converter. Check the tutorial next up. Here we will take how to save Apple Music to PC for example.
ViWizard DRM Audio Converter Key Features
- Losslessly remove DRM from Apple Music & iTunes songs
- Convert M4P to MP3, AAC, WAV, FLAC, M4A, M4B
- Retain 100% original quality and ID3 tags
- Convert Audible and iTunes audiobooks to MP3, M4B, AAC
- Convert between DRM-free audio file formats
How to Download and Save Apple Music to Computer
Step 1 Add Apple Music to ViWizard Audio Converter
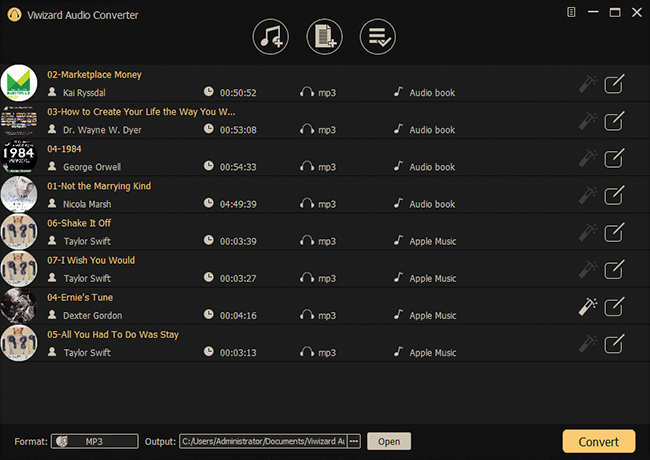
First, download and install ViWizard Audio Converter from the above link. Make sure the Apple Music songs you want to convert are playable on your PC. Launch the converter and then add the songs to the main interface. There are two "Add" buttons, to convert Apple Music you should go for the "Music Note" icon on the top of the window. The another "Add" button is for importing unprotected audio files.
Step 2Customize Audio Output Settings
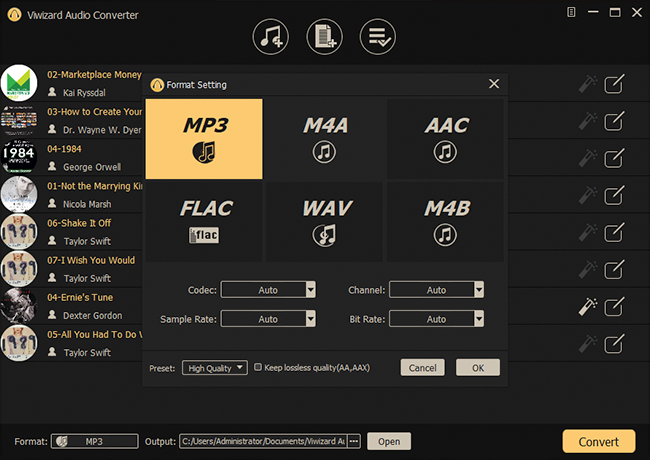
After all the songs are loaded into the converter successfully, you can start to work with the output settings. First and the most important is the output format. Click and open the "Format" panel and select MP3 as the default output format. But MP3 is not the only choice. ViWizard provides 20 more options for input formats to 6 common output formats. To adjust volume, speed, and pitch of the audios, you can use the "Effect" and "Edit" icon at the end of each column of the audio track. It's fun to try these features. When all the settings are decided, don't forget to save the changes by clicking "OK".
Step 3Convert Apple Music songs to MP3
Next, simply hit on "Convert" and wait for a few seconds. When the converting process is done, the converted songs will be saved to your local folder. You can open the "Converted" catalog and locate their destination. This time, hey are truly saved to your computer forever.
The Bottom Line
Now you can play Apple Music on your computer whenever you want with no iTunes needed and no worry about the authorization or subscription. ViWizard Audio Converter now releases the latest version to support Catalina. Save Apple Music to Mac is just as easy as on Windows. Just try it!
- How to Move Apple Music/iTunes Music to SD Card
- Best Ways to Transfer iTunes Library to New Computer Seamlessly
- How to Copy Apple Music Songs to USB Drive
- Where Is the Downloaded Apple Music Stored on Your Devices
- How to Play Apple Music on Android Devices
- How to Download and Save Tidal Music to Computer

Adam Gorden is an experienced writer of ViWizard who is obsessed about tech, movie and software.